Archive for September, 2026
Mounjaro 7 Month Update
 It’s time for another monthly update, though I don’t have a lot to report here!
I had my official call with Fiona where she confirmed the numbers from my blood test last month. I have been given the option of upping my dose to 12.5 if I want to encourage additional weight loss, and I’m thinking about it, but I’ll see where I am with weight loss after a full year before I make that kind of decision.
Weigh in update: 1.2kg down this month. I don’t have a cumulative because I had to switch to the digital scale in the GP waiting room and it was 0.9kg higher than the analog scale when I took a base measurement in August. I suppose if I add 0.9 to my original weight recorded on the analogue scale it works out at 5.7kg total loss since February.
Measurements: 0.75 inch off the belly, 0.5 off the hips, 0.75 off the chest. Total inch loss to date: belly 4, hips 4.5, chest 4
I have discovered another side effect or I guess it’s really related to what I can/can’t eat. Twice this past month I had a tomato based meal – one was a hamburger helper mock recipe that I have been making for ages and the other was just tomato soup. Both made by me and did not contain anything I was allergic to. However, later at night when I was in bed after having both these meals (about a week apart), I woke up and immediately had the burning sensation of acid from heartburn in my throat and I had to run to the toilet before I projectile vomited in bed. I’m a little sad by this discovery, because I do like a tomato based pasta dish! I’m fine with tomato sauce on a pizza and even with raw tomatoes, so it seems to be the quantity of tomato that set me off. I am already on Omeprazole, so I think this is a new Mounjaro “issue”. But it’s also not anything I can’t handle.
I also continue to use the laxative around every other day just to keep things moving and to prevent painful constipation.
***
The contents of this post, including images are © Rebecca J Lockley and Tim Lockley unless otherwise stated and should not be reproduced without permission.
I have not received compensation from any companies mentioned in my post.
I am not a Doctor or Nurse and the information contained in this blog post is meant for information purposes only. Please consult your GP with any health related questions.
For full Copyright and Disclaimer, please read http://www.blog.beccajanestclair.com/copyright/
Facebook: https://www.facebook.com/blog.beccajanestclair
Twitter: https://twitter.com/annaonthemoon
Instagram: https://www.instagram.com/beccajanestclair
Blog: http://blog.beccajanestclair.com
YouTube: https://www.youtube.com/channel/beccajanestclair
BlueSky: https://bsky.app/profile/annaonthemoon.bsky.social
Tumblr: https://www.tumblr.com/annaonthemoon79
Previous Posts about Mounjaro: https://www.blog.beccajanestclair.com/mounjaro-for-type-2/

Wholewheat Breadmachine Bread
 I’ve been making Tim and I fresh bread every week (sometimes twice!) since March, tweaking the official recipe that came with my Russel Hobbes bread makier until I found something that we both like.
This recipe is for a 1KG machine and if you have a different brand, your mileage might vary!
I weighed everything, including the liquid on my digital scale as it made it more consistent. I just put the bread pan straight on the scale and zero it out between weights.
Add items in the order listed or according to the order of your bread machine instructions. Just make sure the yeast doesn’t touch the sugar if you aren’t adding them in this order.
I added Psyllium and used less wholewheat flour than the original called for as this made it less dense and more like sandwich bread. If you don’t want to use Psyllium, just replace the amount with wholewheat flour.
This works out at costing less than £1.50 per loaf.
Ingredients:
420g Water (Use only 400 if omitting Psyllium)
30g Olive oil
15g Salt
60g Caster sugar
12g Dried milk powder (dried oat milk powder works too!)
50g Psyllium
300g Strong White Bread Flour
250g Strong Wholemeal Bread Flour (300g if not using Psyllium)
8g Yeast (this works best if you make a well in the flour for the yeast)
Set the bread machine to Wholewheat (on mine it’s setting 3) and then leave until finished.

Tastes great warm with some butter and honey, and works great in a sandwich.
I save the ends of the bread and cut those into cubes and either put them in the freezer for when I have a recipe that calls for breadcrumbs/cubes or I make croutons with them.
To make croutons, you will need:
Cubed bread
drizzle of olive oil
a few TBS of herbs of choice. I use a mixture of Oregano, Parsley, Basil, and Thyme most of the time
Sprinkle of salt & pepper
Preheat the oven to 200C.
Combine bread cubes with olive oil, herbs, salt, and pepper until the bread is well coated. I use the pan I bake them in and just pop a plate on top and shake it really well
Bake for 30-45 minutes until desired crispiness.
***
The contents of this post, including images are © Rebecca J Lockley and Tim Lockley unless otherwise stated and should not be reproduced without permission.
I have not received compensation from any companies mentioned in my post, however some links might be affiliate links where I earn a small commission.
For full Copyright and Disclaimer, please read http://www.blog.beccajanestclair.com/copyright/
Facebook: https://www.facebook.com/blog.beccajanestclair
Twitter: https://twitter.com/annaonthemoon
Instagram: https://www.instagram.com/beccajanestclair
Blog: http://blog.beccajanestclair.com
YouTube: https://www.youtube.com/channel/beccajanestclair
BlueSky: https://bsky.app/profile/annaonthemoon.bsky.social
Tumblr: https://www.tumblr.com/annaonthemoon79
[Recipe] Roast Pork and Apple Gravy
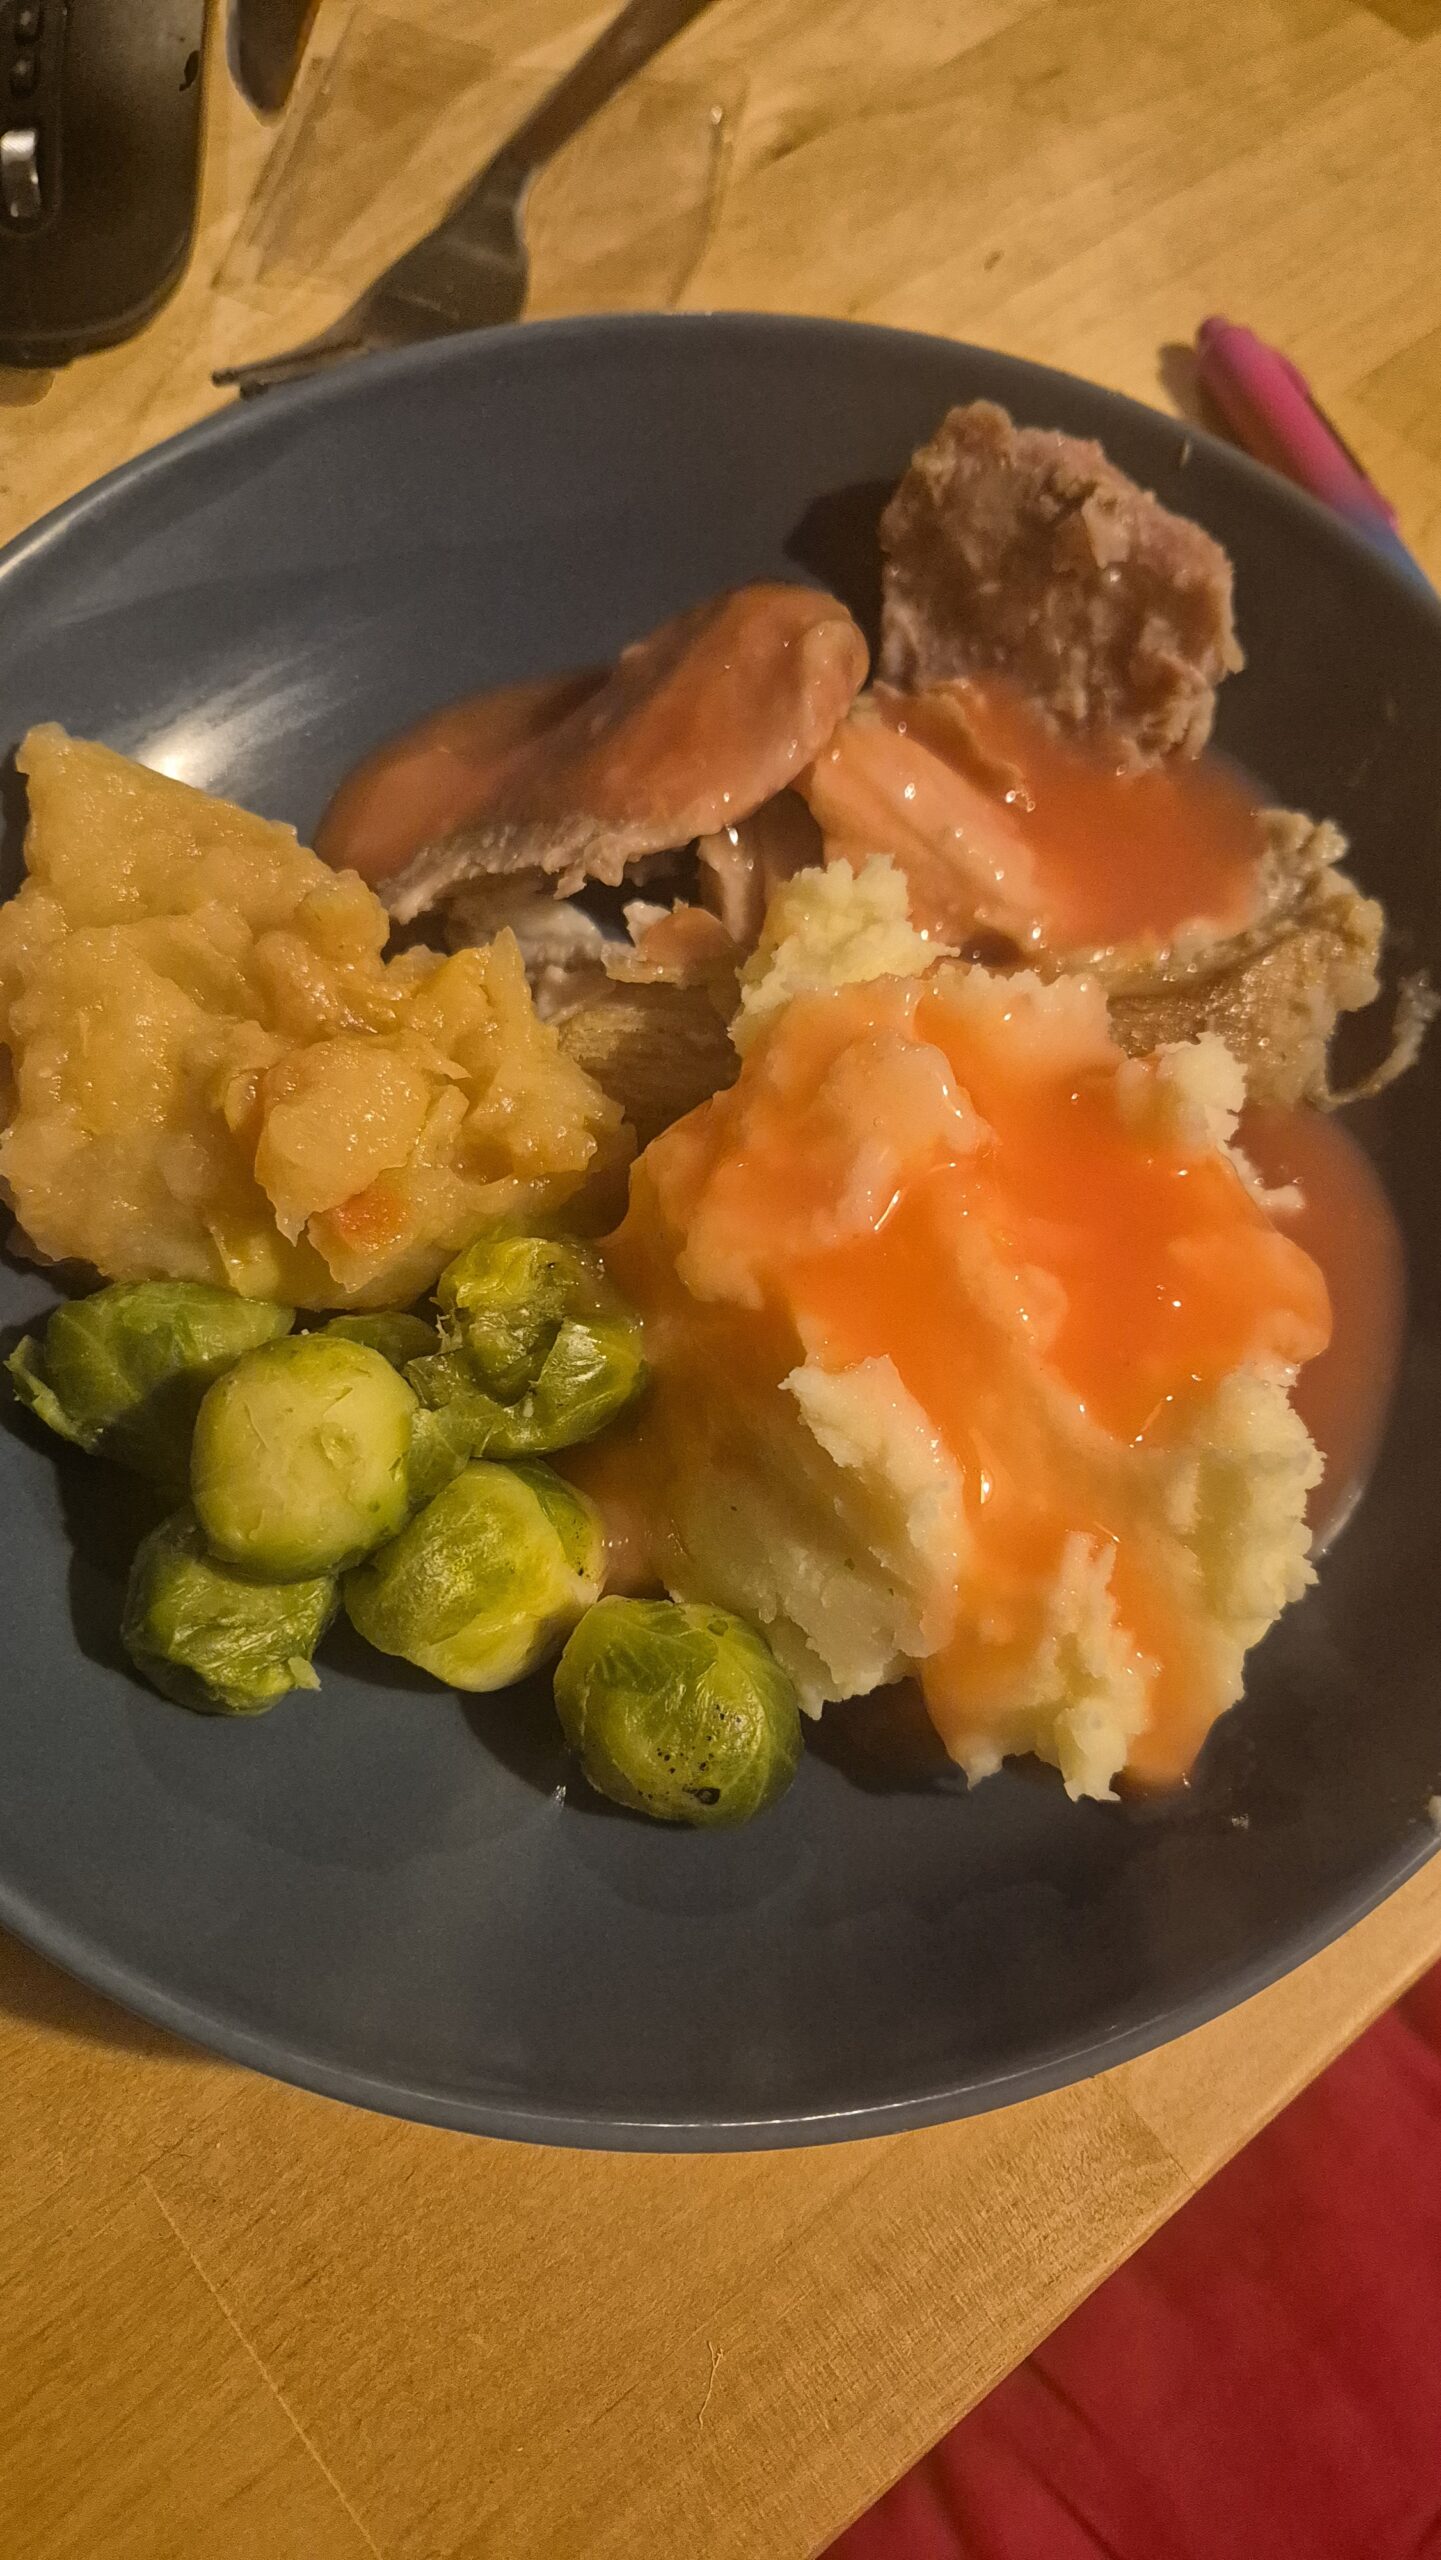 It’s been a while since I blogged a recipe, but I was happy with how this turned out and a friend asked how I dis it, so blog it is.
I cooked the pork in the crock pot, but you could definitely roast it in the oven instead.
You will need:
Pork Roast (I picked up a frozen one from Iceland for £6)
1 tin of Cider (I used Inches)
For the Apple Sauce:
3 fist-sized cooking apples (I used windfalls from our tree)
1 eating apple (I used Braeburn)
1L water
Sugar/Sweetener (optional)
For the Gravy:
Saved water from the apples
“juice” from crock pot
3-4TBS Corn Flour
Dash of red food colouring (optional)
1. Put the pork and cider into your crock pot and cook on low 6-8 hours. I left the bit of fat on the pork because it was frozen, otherwise I would have cut it off.
2. Dice the apples (i left the skin on) and add apples and water to a large pot and bring to a boil, about 8 minutes. Leave to simmer until apples are soft.
3. Drain apples but keep the apple flavoured water.
4. Blend the apples until the consistency you prefer and sweeten to taste. Using 1 eating apple made it sweet enough for me and I didn’t add any sweetener. I like to add cinnamon, but since my husband doesn’t like it I only add it to my portion.
5. Bring the apple water back to a boil. Add a ladle of the “juice” from the crock pot and slowly whisk in 3-4TBS corn flour until you achieve the level of thickness you are happy with.
6. Use a small drop of food colouring to make the gravy slightly pink (optional). But don’t do what I did and let too much go in or it goes red!
I served it with mashed potatoes and sprouts, but I wished I had thought to get some cabbage instead.
I have never made apple gravy, or any gravy from scratch really and I was very pleased with how this turned out! It wound up being a fairly inexpensive meal (under £10) as well since the pork was from Iceland and I used free apples off my apple tree.
***
The contents of this post, including images are © Rebecca J Lockley and Tim Lockley unless otherwise stated and should not be reproduced without permission.
